Get to know the procedure to update your QuickBooks Desktop license and product info:
Do you want to change QuickBooks desktop license number or product code? Well, we’ve got you covered. We have come up with this article, where we will be discussing in detail the process to change the product number. When we activate or register QuickBooks, each time we need to enter the product and license number, but at times the license and product code not working issue might appear on the screen. In such situations, the user will have to change the product and license number. It is not requisite to uninstall the QuickBooks desktop, you can even change it without uninstalling or re-installing the QuickBooks.
To know more about changing a QuickBooks desktop license number or product code, make sure to read this post till the end. Or contact our team professionals right away at 1-800-761-1787. Our team professionals will ensure to provide you with immediate technical assistance.
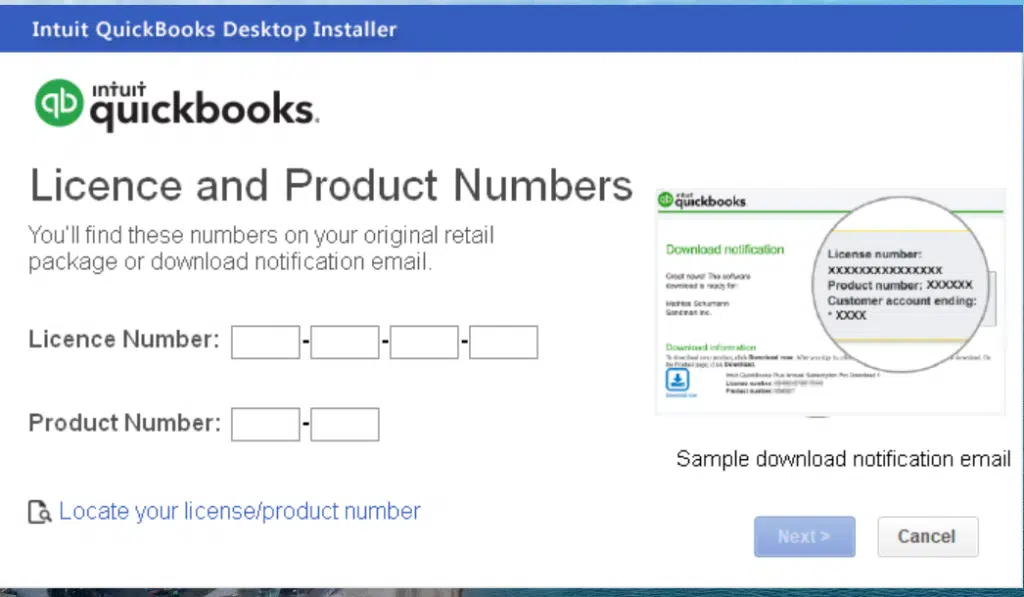
Table of Contents
ToggleMethod 1: Change QuickBooks Desktop License Number
The user can change QuickBooks desktop license number without uninstalling and reinstalling the application. We have stated below the steps for both Windows and Mac. Read ahead carefully, and implement accordingly:
Steps for changing the QuickBooks desktop License Number
On QuickBooks desktop for Windows:
- Open your QuickBooks desktop first and then navigate to the QuickBooks help menu.
- After that, choose Manage my license from the options and also go for Change my license number.
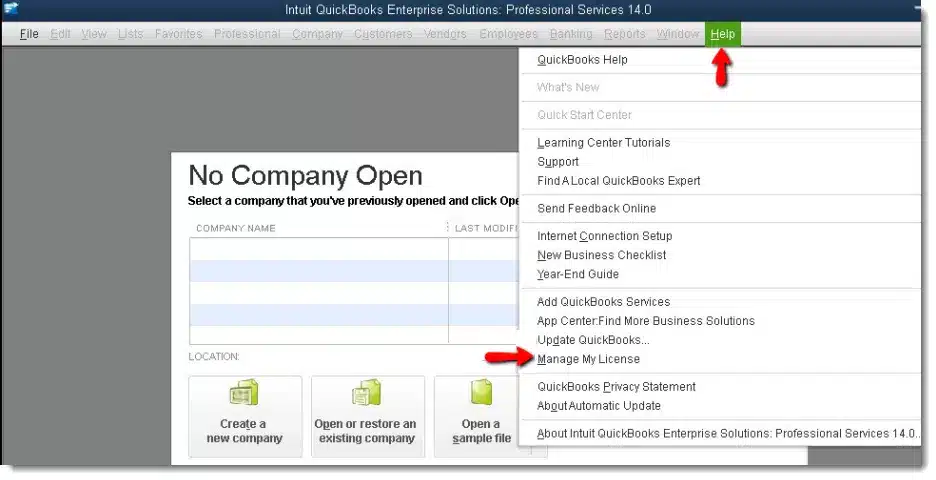
- The next step is to Enter the new license number and choose next then Finish tab.
On QuickBooks desktop for Mac:
- If you are a QuickBooks desktop for mac user, then in that case you need to select Manage my license from the QuickBooks menu and then Deauthorize this computer.
- The next step is to select Deauthorize and quit, when you get the prompt.
- The user is required to re-open QuickBooks and follow the registrations process. This will let you enter a different license.
Method 2: Change QuickBooks product code info
This process is only for Windows user, so opt for the steps accordingly.
Steps for changing QuickBooks desktop product code information
Following are the quick steps to change product code in QuickBooks desktop for Window’s:
Solution 1: Manually editing the Qbregistration.dat (for QuickBooks enterprise)
In case you have QuickBooks enterprise installed in five or less than five systems, then it is suggested to follow the re-install process above. In case you use enterprise in more than five computers, then it can be time consuming to reinstall. Also, the user can update the product code is by editing a file called qbregistration.dat. This file has product codes for all installed QuickBooks software.
It should be noted that, if you don’t feel comfortable following these steps, then it is highly recommended that you reach out to an IT professional:
Step 1: The user should open qbregistration.dat file through QuickBooks
- The very first step is to open QuickBooks.
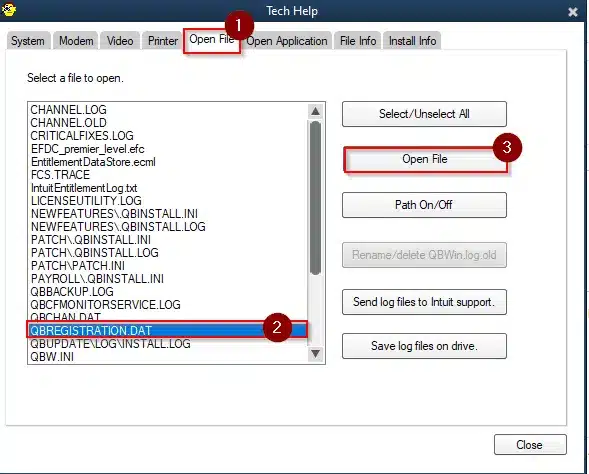
- And then, press F2 and then F3 key to open the tech help window.
- Also, choose QBREGISTRATION.DAT on the open file tab, and also choose open file. And then the file will open in Notepad.
- The user should create a backup of the qbregistration.dat file. QuickBooks won’t open right if there are any types in the file. This step is extremely important.
- It is suggested to select Save as from the notepad file menu and then select desktop in the save as window.
- And then choose Save.
- Also, close the File.
- The next step is to re-open the file from the Tech help window.
- The last step is to close QuickBooks, but keep the qbregistration.dat file open in notepad.
Step 2: Editing the qbregistration.dat file
- In this, the user is supposed to select the Edit opt and then replace or press Ctrl + H keys in qbregistration.dat file.
- The user is then required to type in the Old product number in the find what field and then replace it with the new one in the replace with field. The user is also suggested to use format XXX-XXX when entering the Product number.
- Also, choose the Replace all tab.
- And select File and hit Save tab and also Close the file.
Step 3: Checking the product code
- For this, the user should open QuickBooks.
- And then press F2 key to display the Product information window.
- Also, check the Product number field to ensure that the product code is now updates.
In case the product number didn’t change, then reboot the system. Or if you still see the old product code after a reboot, then follow the reinstall process.
Solution 2: Uninstall and then reinstall QuickBooks
In case the business runs Pro, premier, or enterprise in five or fewer systems, then the best way is to change the product code is to reinstall the software
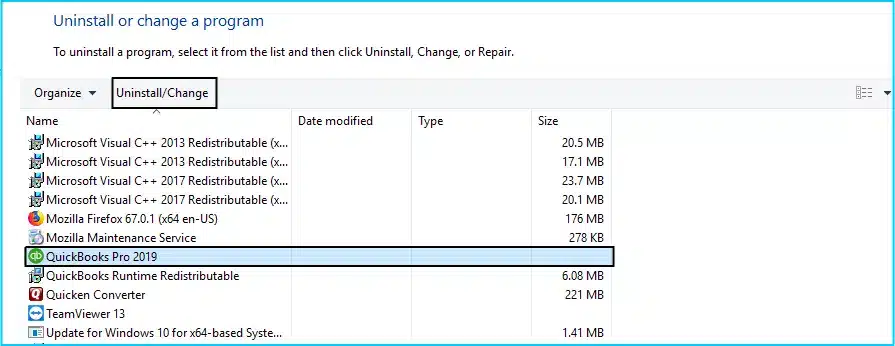
- The user is recommended to Uninstall and reinstall QuickBooks.
- And also Activate QuickBooks.
Related article: How to Solve QuickBooks Error 1321 When Modifying the File?
Conclusion!
By the end of this post, it is believed that the above stated set of steps would be more than enough to change a QuickBooks desktop license number or product code. However, if you are facing any sort of error in changing a QB license number or product code, then in that case reach out to our QuickBooks support team professionals at 1-800-761-1787. We will ensure to resolve all your queries in the best possible way.
Other similar topics you may like:
