The QuickBooks clean install process encompasses a clean wipeout of the QuickBooks program from the system and the subsequent process of resetting the accounting program on your computer. When performing the clean installation manually, the uninstall procedure should be followed by renaming the QuickBooks folder. This action ensures the inaccessibility of this erroneous folder upon reinstalling QuickBooks.
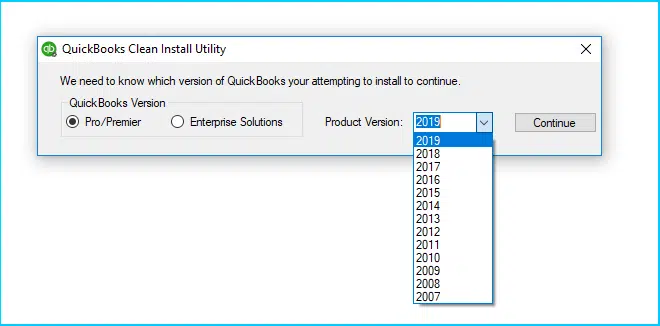
While the manual process is a bit tedious, users can also use the Clean install Tool a utility rolled out by Intuit. In this brief walkthrough, we will discuss how to Reinstall QuickBooks for Windows using Clean Install.
Table of Contents
ToggleProcedure to reinstall QuickBooks using the Clean Install
The procedure of clean installation of QuickBooks involves four basic processes:
- Taking note of the license and product keys in the Product Information Window.
- Uninstalling QuickBooks Desktop
- Renaming the QuickBooks folder
- Reinstalling QuickBooks
These processes are discussed as under:
1st Process: Taking note of the license and product keys in the Product Information Window
Before starting off with a clean install tool, it becomes essential to keep your license and product keys available at your disposal. If you don’t have them already, then open the QuickBooks program and then press the F2 key to open the Product Information Window.

Within this Window, you will notice all your product details, including the product key and the license key. Take note of them, as you will require them during the process of reinstalling QuickBooks.
You might see also: What is the Procedure to Fix QuickBooks Error 12057?
2nd Process: Uninstalling QuickBooks Desktop
After taking note of your license and product keys (and the QuickBooks version and year as well), you are required to uninstall QuickBooks. This can either be done manually (using the Control Panel), or by leveraging the QuickBooks clean Install Tool. The steps for manual un-installation of QuickBooks are given below:
- Initially, open the Control Panel from the start menu.
- After that, look for Programs and Features within the Control Panel. Open the same by clicking on it.
- The next Window includes a comprehensive list of installed programs, wherefrom, you are required to choose QuickBooks.
- Afterward, hit on Uninstall/Change.

- Head forward to uninstall QuickBooks.
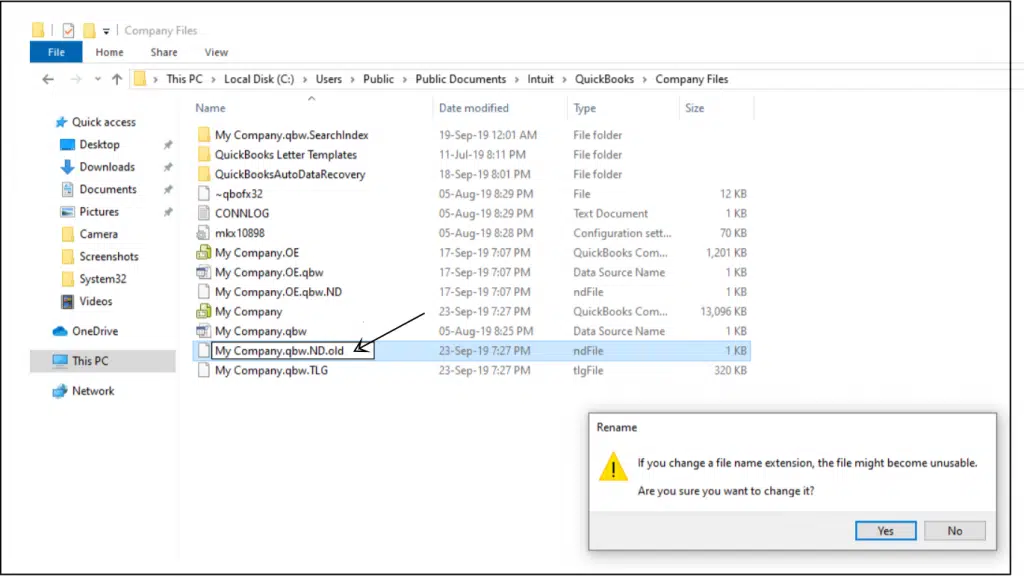
- When the accounting program is removed, you now need to rename the QuickBooks folder.
3rd Process: Renaming the QuickBooks folder
- Advance to the QuickBooks folder My PC (or My computer).
- You need to rename this folder by adding ‘.old’ at the end.

4th Process: Reinstalling QuickBooks

Upon renaming the QuickBooks folder, the subsequent step is to reinstall QuickBooks. For this, you can either use your CD or acquire the .exe file from the Intuit website. Upon installing the program, enter the correct license and product keys (noted in the 1st step), and you are good to go. The Clean install process culminates here.
Read Also: What Versions of QuickBooks Desktop are Supported on Windows 10?
How to tackle issues while uninstalling/reinstalling QuickBooks?
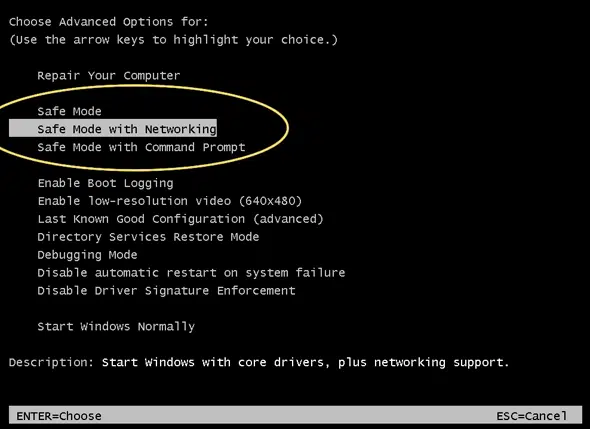
If you face any deterrence while removing or setting QuickBooks desktop, you should consider using Safe Mode with Networking.
- Restart the computer.
- Keep hitting the F8 key till the Advanced boot option screen with a black background appears on the screen.
- From this Window, opt for Safe Mode with Networking.

- When the system starts, perform the operation to remove/install QuickBooks again.
Reinstalling QuickBooks desktop using QuickBooks clean install is considered to be a viable resolution against different varieties of technical issues encountered in QuickBooks. If no other troubleshooting measure works out, a clean installation ensures a clean wipe out of the error. Within the purview of this post, we have covered the various processes to reinstall QuickBooks for Windows using clean install utility.
Some other frequently asked questions
How to Fix Performance Issues When Using QuickBooks Statement Writer?
Steps to Write Off Bad Debts In QuickBooks Desktop and Online


