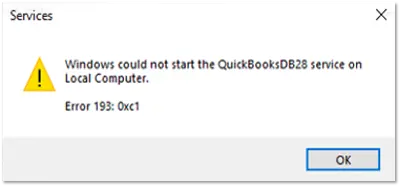
Whenever you work on QuickBooks software with full concentration, you can be distracted by technical issues. In this segment, we will discuss about one of the common error that shows up as "QuickBooks error code 193:0xc1 Windows could not start the QuickBooksDBXX service on local computer". You might bump into this error when you open or use QuickBooks desktop in multi-user. This error typically arises when the POS system fails to access or read specific company files. As a result of this error, you might be unable to start the QuickBooksDB27 service manually or automatically. Furthermore, you can also encounter this sort of error when starting the QuickBooks database server manager.
This error can be quite confusing and can cause a loss of your precious data, so here we are with this technical segment, where we will be discussing few simple steps to resolve this issue. For technical guidance, you can call our accounting professionals at 1-800-761-1787. You may see the following error message on your computer screen when this error occurs:
| Error | Description |
|---|---|
| Warning | Error 193: 0xc1, Unable to start the service error. |
| Warning | Error 193: Services - Windows could not start the QuickBooksDBXX service on Local Computer. |
You can proceed with this segment, to unleash the correct steps you are supposed to follow, whereas if you feel that the error is too complex for you to handle, then feel free to ring up to us at 1-800-761-1787. Our experts will be happy to provide you with the best possible support services round the clock.
Read Also: Steps to fix problems with Statement Writer
Causes behind error 193:0xc1 in QuickBooks desktop
There can be various reasons behind to this error. Few are as:
- Corrupted or damaged .qbt files in your database.
- Your QuickBooks has a corrupt customer list at the remote store.
- There are a few damaged company files.
- Windows O/S may be out-to-date.
- You might be trying to open a deleted or merged customer names.
- You may have same department codes or names in your software.
Methods to Rectify the QuickBooks Multi-user Error 193
There can be certain solutions that can help you to resolve QuickBooks error 193: 0xc1 while trying to start the QuickBooksDB27 service. It should be noted that the following steps are for Windows operating system, which is not an Intuit product. So, if you are a bit sceptical in performing these steps, then Intuit recommends to consult to the system’s manufacturer or IT professional. Let us begin with the process to fix the error:
Method 1: Perform a clean installation of QuickBooks desktop
The first method that you can opt for is to perform clean Installation of QuickBooks desktop. This method is expected to fix the error up to a certain degree. The steps to be followed are as under:
- Press Windows Start or click on Start button on your computer.
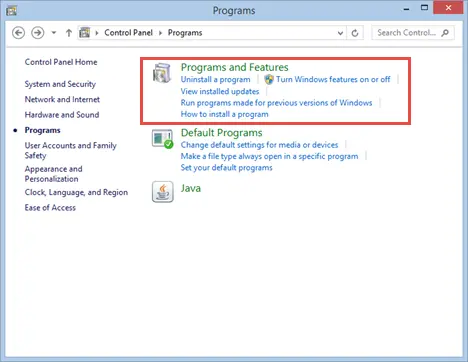
- Go to the for Control Panel and open it.
- Opt for Programs and Features option or Uninstall a Program.
- Choose QuickBooks Desktop from the list of installed programs.
- Pick Uninstall/Change opt and click on Remove.

- At last, hit on Next and reinstall your QuickBooks Desktop.
See Also: How to Fix QuickBooks Desktop OL & OLSU Bank Feed Errors?
Method 2: Deleting .qbt files in headquarters and remote store
You need to delete the .qbt files in both headquarters and remote store. The steps involved in this process are discussed under:
Step 1: Delete the .qbt files at the headquarters
- You can do this by following the path on the Windows OS: C:\Program Data\ Intuit\QuickBooks Point of sale x.x/STex.
- Check all the folders, and if you are able to find any of the .qbt files, then delete them as well.
Step 2: Deleting the files at the remote store
- This can be done by typing in .qbt in the search box.
- Followed by deleting the .qbt files which you find in result.
- Close the Windows and Empty the recycle bin.
Step 3: Creating new remote file
- Opt for the Files and Company operations and also hit on create new company.
- Type in the Company name and also select Remote store and also fill in the store number.
- Resend the mailbag from headquarters to the Remote store.
Method 3: Manually do Windows 10/Server 2016 version 1803 update
You are required to visit Microsoft KB4100403 and KB4338548 for information on how to fix the issue.
Here, the KB4338548 has the link to the Microsoft Update Catalog. You can choose the required and appropriate Microsoft update from there. Or you can also contact an IT professional for further assistance on the same.
If you are using versions Windows 10 and 2013:
- Choose the Customer from the list and click on the Shift tab.
- For using version 9:
- You need to press Ctrl + A keys to go for all the Customers and move to the File menu of the headquarter server.
- Moreover, for validating the mailbag in the store, choose the Utilities tab and then Resend the same.
Check Also: Steps to Fix Quickbooks Read Only Error
Method 4: Scanning the PC for any viruses
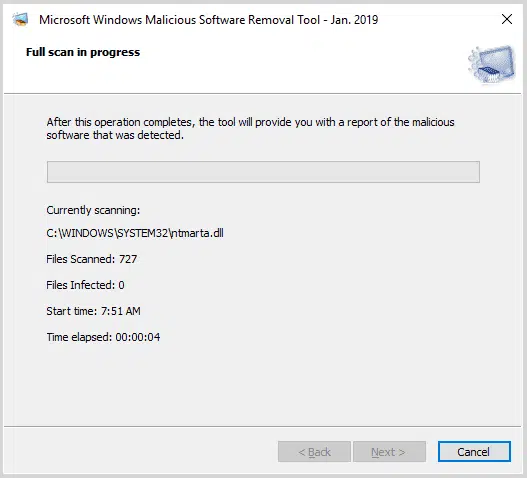
You are recommended to go for a complete virus scan in their system by using some security software like antivirus. This process can also help to contain this QuickBooks error. In this context, users need to set up and launch their antivirus program to check the computer for any virus intrusions.
Method 4: Delete customers in QuickBooks
- At first select the Reports tab after launching the QuickBooks.
- After that select the Customer Lists. A list will show up on the screen. Pick the very first client.
- Hit a click on Customer twice.
- Then examine the details and open the list of this customer.
- Now select All Options, then select I Want to.
- In the next step, select Delete the Customer option.
- Select the File menu and opt for Utilities & Resend option.
- The mailbag of the store must then be examined.
- The final step is to open the QuickBooks and check if error 193:0xc1 got resolved.
Read Also: Resolve Overflow in QuickBooks Desktop
Final Note..!
We end this post over here with the hope that the information shared above might be of some help in fixing the QuickBooks error 193:0xc1 Windows could not start the QuickBooksDBXX service on the local computer. If in case you need any expert assistance, feel free to give us a call using our technical support number i.e., 1-800-761-1787. Our certified QuickBooks desktop support team will be there to assist you in a single call.
FAQs
What is the main cause of QuickBooks error 193:0xc1?
The major causes include:
1. Damaged Windows registry entries.
2. QuickBooks Database Server Manager is not functioning properly due to some damage.
3. Running background programs conflicting with Quickbooks.
What is QuickBooks Database server manager?
QuickBooks Database Server Manager is a tool which allows multi-user access over a network to a company file in QuickBooks.
Can uninstalling and reinstalling QuickBooks fix Error 193?
Yes! If none of the other methods fix the error, users can uninstall and reinstall QuickBooks. This can also be possible with the use of the QuickBooks Clean Install Tool.
Interesting Reads for You!
Troubleshoot Unable to Print Problem in QuickBooks Desktop