November 27, 2025/
How to Update QuickBooks Desktop to the Latest Release Version Keeping your…

How to Update QuickBooks Desktop to the Latest Release Version Keeping your…
QuickBooks is an essential accounting tool trusted by millions, but even robust…
QuickBooks is the backbone of financial management for many small and mid-sized…
Many users experience a frustrating issue where QuickBooks fails to open after…
When opening your QuickBooks company file, you may encounter the error message:…
If you’re trying to open your QuickBooks company file and encounter a…
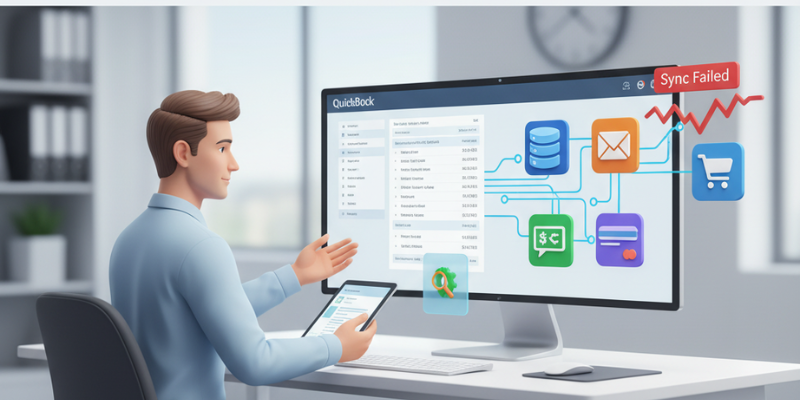
QuickBooks Desktop allows businesses to connect with various third-party applications such as…
Are you trying to open your QuickBooks company file and getting the…
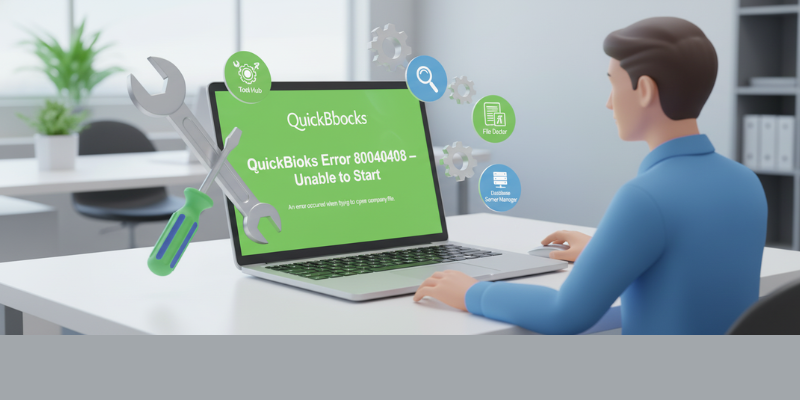
When trying to open QuickBooks Desktop, you may encounter the error message:…
In today’s business environment, agility is everything. Whether you’re a small startup…
In the nonprofit world, purpose drives every decision — but accountability sustains…
Running a travel agency is as exciting as it is complex. Between…