Creating data level permissions in QuickBooks desktop enterprise involves certain set of steps. In QuickBooks desktop enterprise, the user can set different data level permissions for users’ job role. With this, the user will be able to give the access to only the areas of QuickBooks a user needs to do their job. Such as, the user can give access to a sales representative in Texas, so that they can craft invoices or email customers for their area’s customer group. The user can also create groups for vendors a user works with. The user can also create groups for employees. In this article, we will be talking about the step by step process to create data level permissions in QuickBooks desktop enterprise.
Thus, keep reading and unleash those steps one by one. Or you can also ask our accounting professionals to work for you. Simply ring up to our QuickBooks toll-free customer support number i.e., 1-800-761-1787, and leave the rest on our professionals.
Table of Contents
ToggleSteps to Create a Restricted Role
Before starting with the process, the user needs to ensure to log in as the QuickBooks admin and created customer, employee, or vendor groups, and custom user roles. The steps to be followed here are:
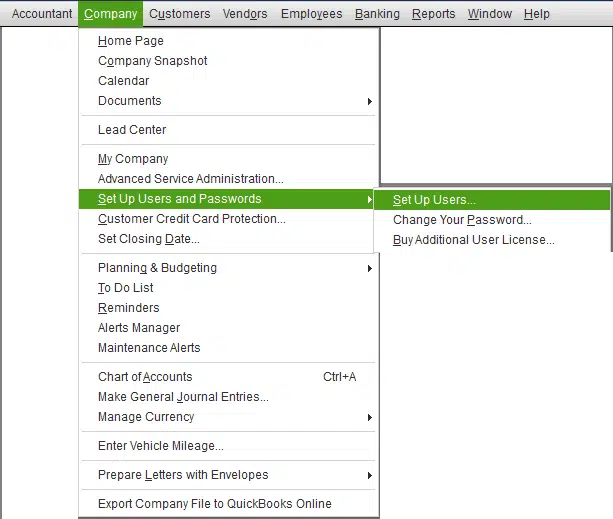
- For this, the user needs to move to the Company menu and then choose Users tab and also select the Set-up users and roles.
- The user needs to select the Role list tab and also choose either New or select Edit tab for an existing role.
- Once done with that, move to the Areas and activities and then Centers and also choose either Customer center or Vendor center.
- After that, the user needs to choose Custom and then choose Define tab.
- The next step is to select the Customer/employee/vendor groups to assign permission at a group level.
- Moving ahead, the user needs to select the View, modify, delete, print, and view balance access levels based on the requirements.
- It should be noted that creating a new record permission will be global for the role created.
- The last step is to hit OK to save the role.
You might read also: How to Troubleshoot QuickBooks Error Code 15227?
Steps to Assign a Restricted Role to a User
The user will only be able to see and create transaction and entries for the customer or vendor group, which depends upon the user roles assigned. The user can also see reports based on the group. The steps to be followed here are as follows:
- To begin with, the user is supposed to move to the company menu and then click on Users tab
- And then choose Set up users and roles.

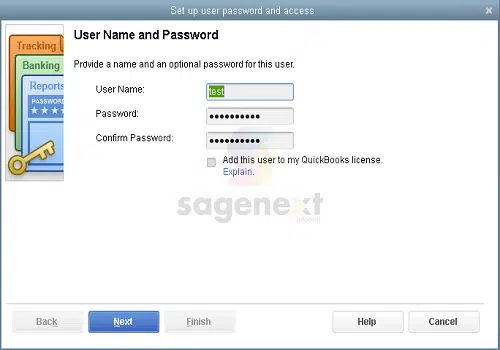
- After that, from the Users tab and also choose either New or select Edit for an existing user.
- The next step is to Enter the username and password tab.

- Once done with that, from Available roles, the user needs to select the user’s role and select Add tab.
- Lastly, the user needs to select OK once done.
To conclude!
The bottom line of this post is to create data level permissions in QuickBooks desktop enterprise successfully. And we expect that after you are thorough with the steps above, you will be able to create data level permission without any error. Furthermore, if you need any sort of technical assistance related to any query then you can place a call at our customer support number i.e., 1-800-761-1787, and discuss your queries with our QuickBooks support team.
Related Topics:
Fixing QuickBooks Error- QBWC1013 Error Connecting To QuickBooks


