QuickBooks error code QBWC1039 usually encounters, when a user try to connect a third-party application with QuickBooks using the QuickBooks web connector. This error is one of the most common error that have been facing and reporting by users in the recent times. Error QBWC1039 is usually seen when you tries to add the same configuration file twice within the application. This error mainly occurs because the application already exists in the Web Connector list. When QBWC1039 takes place, you may fail to sync the data between QuickBooks and 3rd party applications. You may encounter one of the following error messages stating as:
“QBWC1039: If the QuickBooks company data file is not open…”
“QBWC1039: This application does not have permission to access the QuickBooks company data file…”

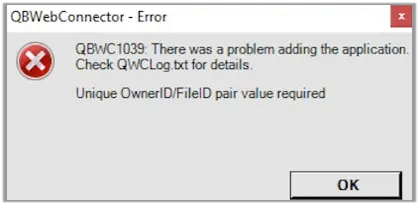
QBWC1039: Unique OwnerID/FileID pair value required
“QBWC1039: Unable to add FileID to company file for this Application”

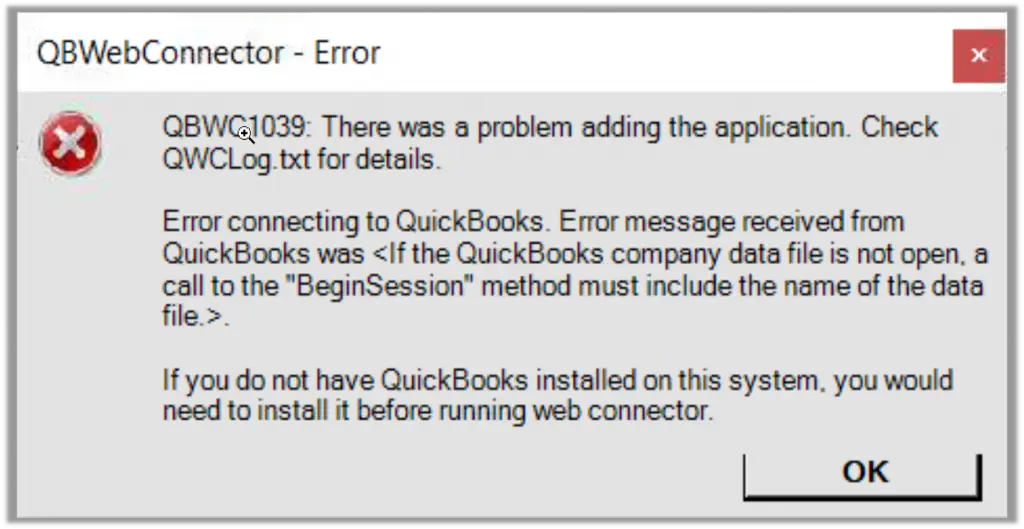
“QBWC1039: There was a problem adding the application. Check QBWCLog.txt for details”

If you are also a victim of this error, then we are here to rescue you. You can read this article and this will help you shun off the QuickBooks error code QBWC1039. But if you feel that you need our technical support at any point of time, then do not hesitate in calling us at helpline. We will be there to help you out and get you out of this annoying error.
Related Article: Steps to Fix QuickBooks Web Connector Error QBWC1085
What is QuickBooks error code QBWC1039?
Before you get your hands to fix this error, we recommend you to first get a brief of what this error is all about. QuickBooks error code QBWC1039 generally occurs due to incorrect application configuration files are being used or if there is any damaged Web Connector settings prevent the connection from establishing properly. There can be several instances of this error that you can encounter while using QuickBooks desktop. You might see a couple of error messages when this error appears on the screen. Let us check out the error messages one by one:
Error Message 1:
QBWC1039: There was a problem with adding the application. Check QWCLog.txt for details
“If the QuickBooks company data file is not open, a call to the Begin Session” method must include the name of the data file.
Error Message 2:
This application doesn’t have permission to access this QuickBooks company data file. The QuickBooks administrator can’t grant access permission through integrated application preferences.
Error Message 3:
Unable to add FileID to company file for this Application
There can be a couple of factors causing this issue, which we will be discussing in the later part of this post. So, users are encouraged to make sure that they scroll through the post carefully.
What Causes QuickBooks Error QBWC1039?
As we said above that there can be a couple of factors that can lead to such an annoying error. Let us explore the various possible factors one by one:
- When a QuickBooks company file is moved or relocated from the original location, the error code appears on the screen.
- When the user has already made several attempts to integrate the application, then this error is probable to happen..
- If the name of the company file is changed.
- Damaged or invalid QWC configuration file.
- Compatibility issues between the company file with the application.
- There can be a situation when the QuickBooks admin restricts the integration of the third-party application.
- Outdated QuickBooks Desktop or Web Connector version.
- Incorrect application permissions in QuickBooks.
Methods to fix QuickBooks error code QBWC1039
There are a couple of solutions that could help users in resolving the QuickBooks error code QBWC1039. We will be exploring each of the methods one by one, so let us begin:
Method 1: Creating a backup of the company file
The user is required to create the backup of the company file in order to resolve the issue. The steps involved in this are as follows:
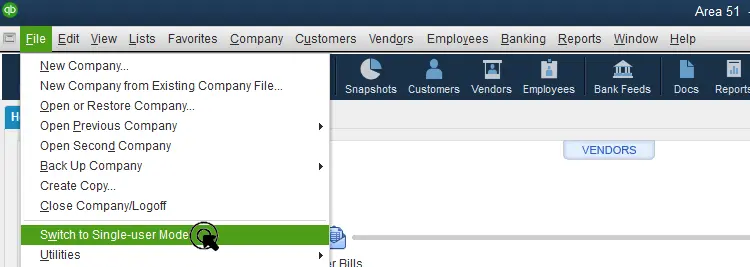
- Open QuickBooks and the file. Followed by switching to the single-user mode.
- After that, click on the file menu and then backup company option.
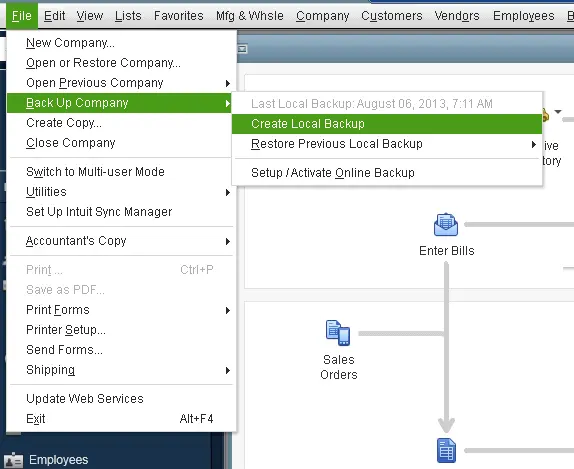
- Next step is to select to create local backup option and then choose the local backup.
- Followed by clicking on options tab for opening the backup window and then select browse.

- Now select the local hard drive location of the company backup file copy.
- Also hit a click on Ok and save it option after the backup is complete.
Method 2: Restoring the backup file to the previous location
In case the user has saved the file in USB or another external file, then they needs to move it to the local hard drive and then follow the steps to restore a file from the previous location. The steps to be followed are:
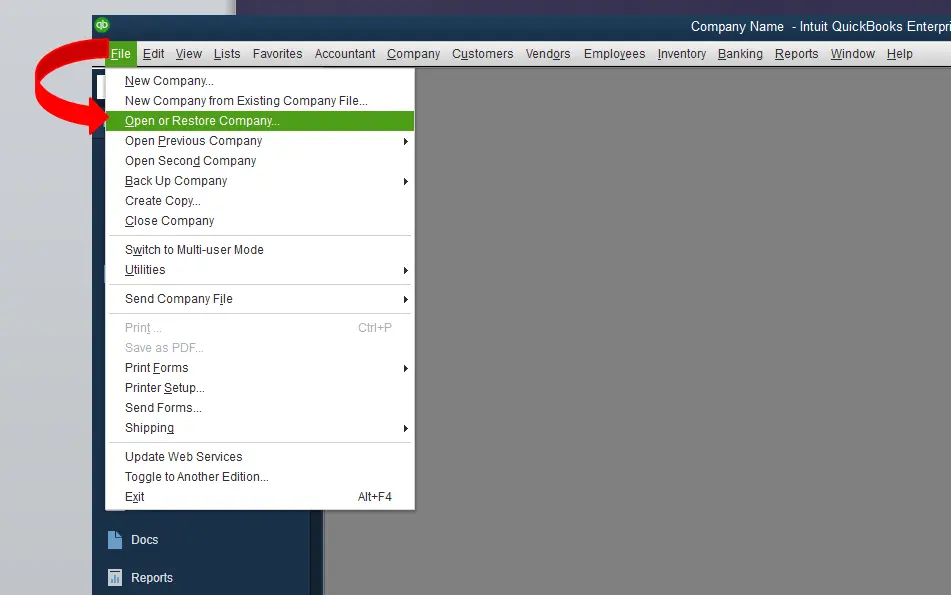
- First step is to click on File menu after launching QuickBooks desktop.
- After that click on Open or restore the company and select to Restore a backup copy.
- Next step is to click on Next option and then select the Local backup tab.

- After that hit a click on Next and Browser backup company file.

- Now select a folder to Save the restored file.
- Also Save the file by a unique name and try not to overwrite the new company name.
- It is required to open and save the restored company file.
You might also read: How to Troubleshoot QuickBooks Error OLSU 1024?
Method 3: Renaming and saving QuickBooks company file
You can rename and save QuickBooks desktop company file, in case the above method didn’t work. The steps to be followed are as follows:
- At first, open QuickBooks and then press the function F2 key or Ctrl + 1 keys for opening information related to the company file.

- And then remember and note down the location from the file information field.
- Also hit a click on Start tab of Windows.
- The next step is to click on File explorer only for Windows 8, 8.1, 10, or for Windows 7 and vista users open Windows explorer.
- Now right-click on the file and select the Rename option.
- Also change file name and then hit on Enter key.
- To confirm all actions, users need to hit on Yes tab.
- After that set up the QuickBooks desktop to use a new file name, and then click on File menu.
- The final step is to open the company file and then click on Next and also open the renamed file.
Method 4: Needed unique ownerID/FileID pair value
In this method, Quickbooks users who are still facing this error can carry out the steps below:
- To begin with, open the QuickBooks desktop and then download the CP3 tool.
- After that open CP3 tool and then click on File option.
- The next step is to look for the QWC file and then enter QBC file location.
- Also open the file and click on Remove stamp.
- This will open up a pop message QuickBooks application certificate, click on Yes.
- Now choose to Continue and select OK in the access confirmation window.
- Follow the instructions and hit Ok tab.
- Once the confirmation message appears, then the user needs to click on OK tab.
- Lastly the user is supposed to close the CP3 tool and add a third-party app.
Related article: Unrecoverable error when opening a QuickBooks Desktop file on a workstation
Method 5: Troubleshoot permission issues in accessing QuickBooks company file
If you are using admin credentials, then carry out the below steps or you can also ask your admin to carry out the steps for you.
- The user needs to Sign in the QuickBooks as an admin.

- And then visit the File menu and Switch to single-user mode, if QuickBooks is on multi-user mode.
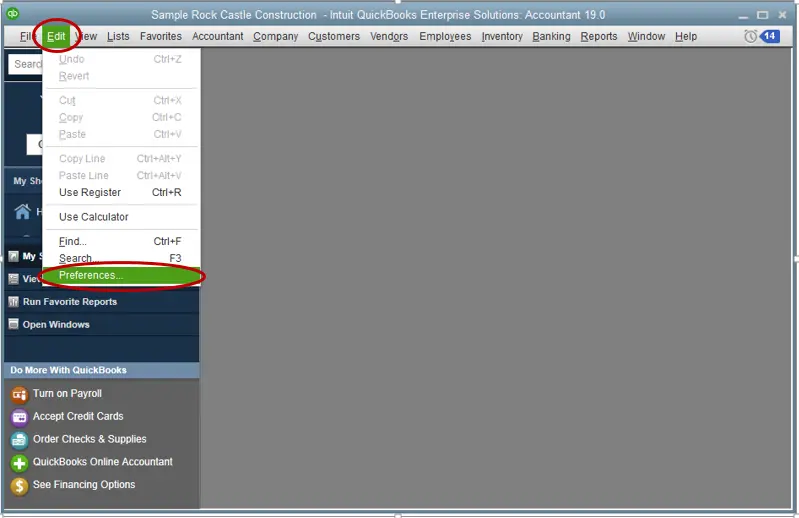
- From the Edit menu, select Preferences.
- The next step is to choose Integrated application and then choose Company preferences tab.
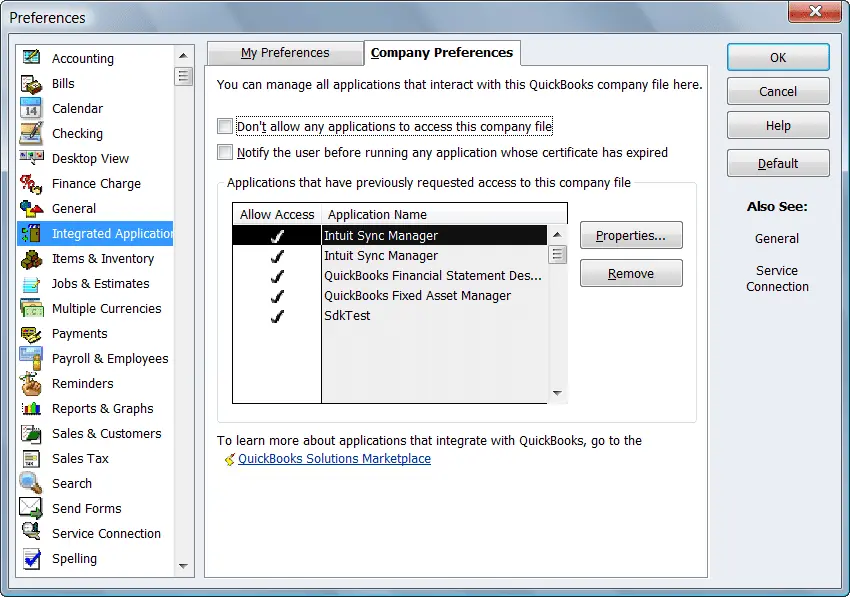
- After that uncheck the box for don’t allow any application to access this company file.
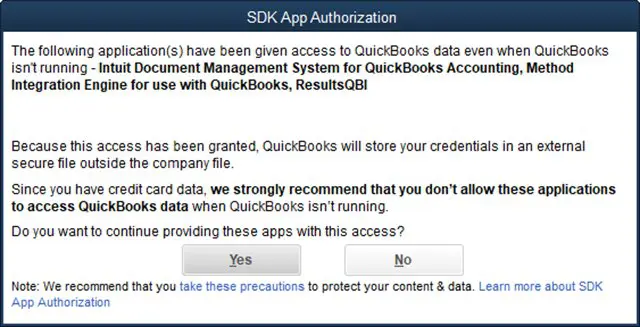
- In the SDK app authorization, select Yes.
- Along with that check the third-party application to Allow access.
- And then, end the process by clicking OK button.
Method 6: Configuring web connector to run when QuickBooks is closed
In case the user hasn't already configured the web connector, then they needs to configure the web connector to run when QuickBooks is closed. The steps involved in this process are:
- For this, the user need to sign in to QuickBooks as the admin user.
- If the QuickBooks is on multi-user mode, then navigate to file menu and then select switch to single-user mode.
- From the edit menu, select preferences.
- Followed by selecting the integrated application and then select company preferences tab.
- Next step is to choose third-party app and choose properties.
- Now allow this application to log in automatically.
- And in the authorization window, choose yes.
- Also select the user to log in, and then hit the OK button.
See this also: How to troubleshoot the QuickBooks error code C=272?
Method 7: Download and install QuickBooks to the latest release
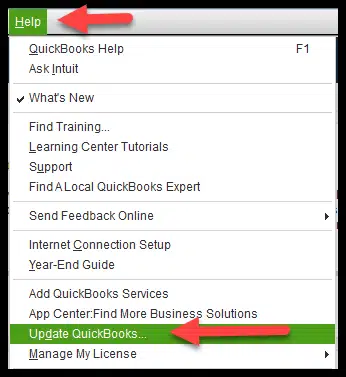
- This method simply requires the user to download, install and update the QuickBooks desktop to the latest release.
- Further, save it to the default downloads folder.
- Along with that, head to the downloaded file.
- Now right-click the file and choose run as admin and perform the steps related to the installation wizard.
- Hit a click on finish tab and reboot the system.
- Start using the QuickBooks latest release software.
Summing up!
In the post above, we have tried to sum up all possible methods that could help users in solving the QuickBooks error code QBWC1039. However, if users are facing difficulty at any stage or if in case the user is doubtful of any step, they are encouraged to call our QuickBooks error support experts anytime. Make a call at our dedicated support line at 1-800-761-1787, and our certified experts will be happy to resolve the error on your behalf. Getting in touch with certified professionals cuts off the difficulty encountered while troubleshooting any technical snag.
FAQs
What is QBWC1039 error in QuickBooks?
Error QBWC1039 is usually occurs when using the Web Connector tool to connect QuickBooks to another application. It appears as “QBWC1039: If the QuickBooks company data file is not open…”
What is QuickBooks web Connector used for?
This tool is used for a seamless exchange of data between QuickBooks and other applications. QuickBooks 2017 and newer versions offer the advantage of accessing it through the File tab in "Update Web Services" option.
Why is my QuickBooks web Connector not working?
There can be many causes behind web connector error in QuickBooks. These include:
1. Insufficient privileges to use the tool
2. The files related to the Web connector tool are damaged
3. Firewall is preventing the Web connector operations
4. Web connector log file is damaged or missing.
More articles to read:
How to Fix QBWin.log Errors in QuickBooks Desktop?